‘The facts, Ma’am – just the facts.’
So, just the facts, then.
I was asked to make a dining table. The only requirements were that it be 60 inches long, 30 inches wide, 31 inches high, and that the top be of Yew. The rest was left entirely up to me. However, after a brief discussion it was clear that the table was not to ‘fill’ the room, and had to allow light to penetrate and preserve a sense of space!
Having just finished reading, ‘Why We Make Things, And Why It Matters,’ by the legendary Peter Korn, I felt up to the challenge. I did some ‘Thinking with Things’ and began to develop ideas and concepts, and consider materials and process.
I had some maple logs left over from an earlier project; enough for what was formulating in my head. The light, almost luminous, wide straight grained wood would counterbalance the rich darkness and tight swirling grain of the Yew.
One of the logs had a very slight curvature, and was the right length required for the legs. So, I split it into quarters and then, to take account of the curve in the wood, cut all four pieces to the same length. Normally I work ‘by eye’, but in this instance I wanted a little more precision and uniformity so I drew large circles on the bottom of the legs, and smaller ones at the top; these I placed near the edge on the inside of the curve, the idea being that I could accentuate the curve by off-setting my finishing point when shaping.
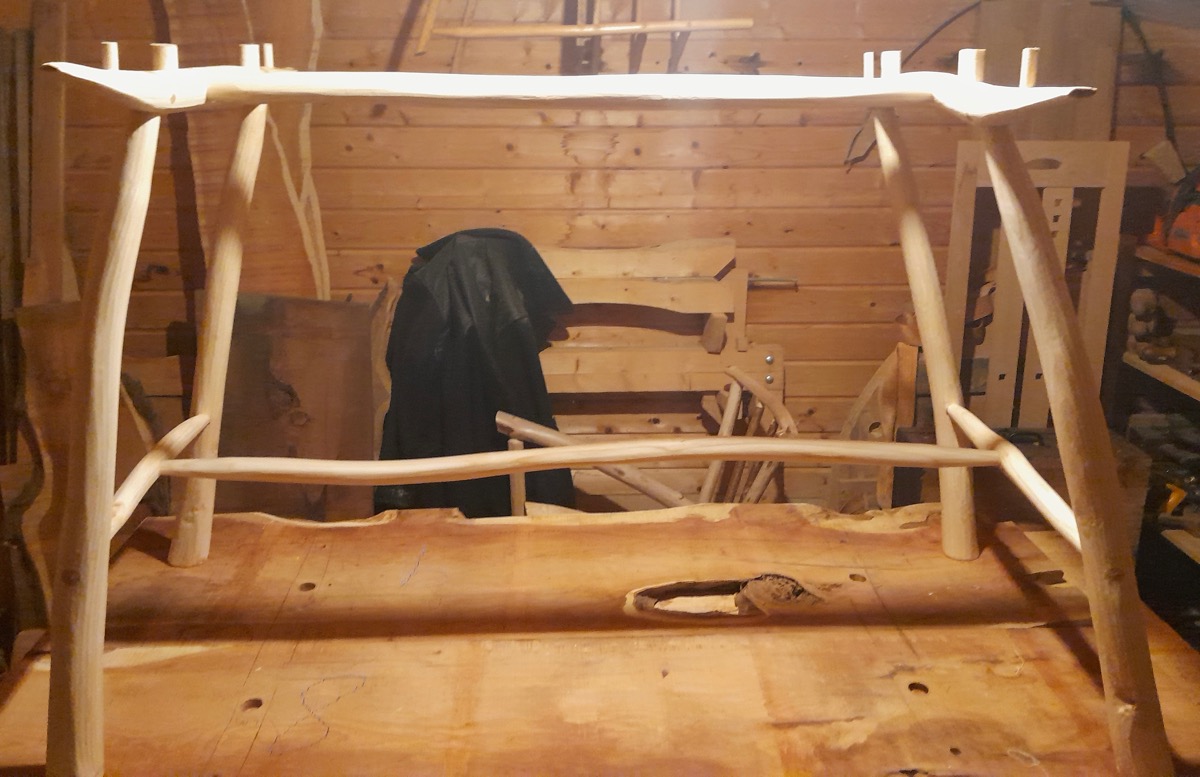
An axe was used to do rough shaping and remove the bulk of the waste material, then work moved to the shave-horse and refinement continued with a drawknife. Final finishing was achieved with a spokeshave, initially adjusted for an aggressive cut, gradually being tuned to take very fine shavings. The two legs formed from the inside curve of the log had some knots which created problems when roughing and in the finishing process, resulting in less than uniform shaping. A knot-free log may have helped reduce this, but, as it was the final result was acceptable and fitted in with my design.
This process was repeated to create the other pieces of the undercarriage of the table – in each piece I followed the grain with axe, drawknife and spokeshave resulting in pieces that had natural flow. Had I wanted perfectly uniform, straight, pieces I would have used a rounding-plane or lathe – it certainly would have been quicker and easier.
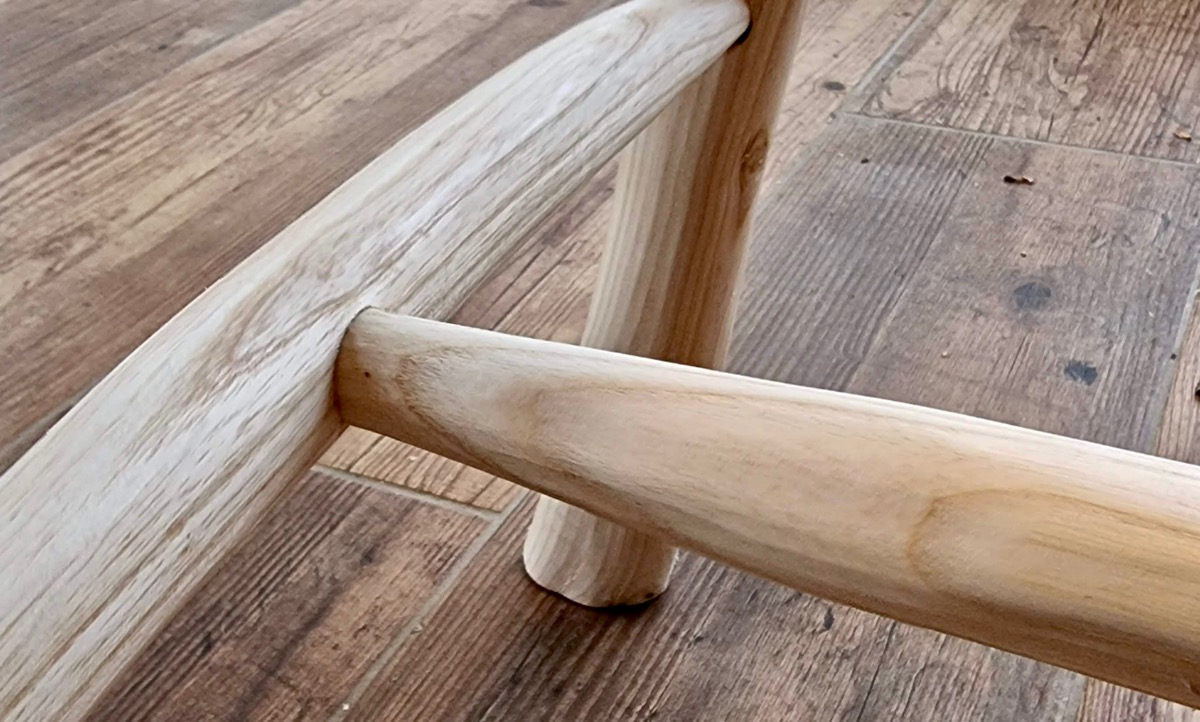
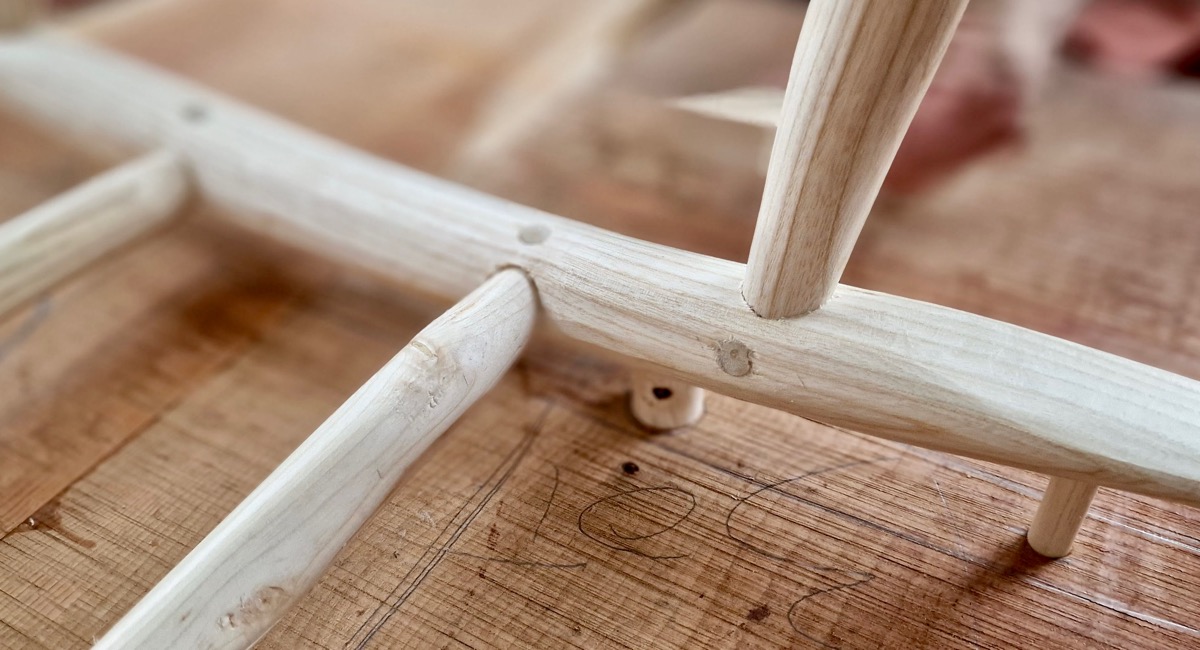
When creating chairs and tables where rake and splay are required for the legs there are some hard and fast geometric rules. However, to my mind, this only works where there is uniformity in the pieces being used. Where there is irregularity a ‘good eye’ is useful. I bored the mortices for the legs having spent some time mocking up the rake and splay I thought worked best, then constructed the undercarriage with a combination of wedged and pegged tenons.
Greenwood Maple and Yew Dining Table
Greenwood Maple and Yew Dining Table
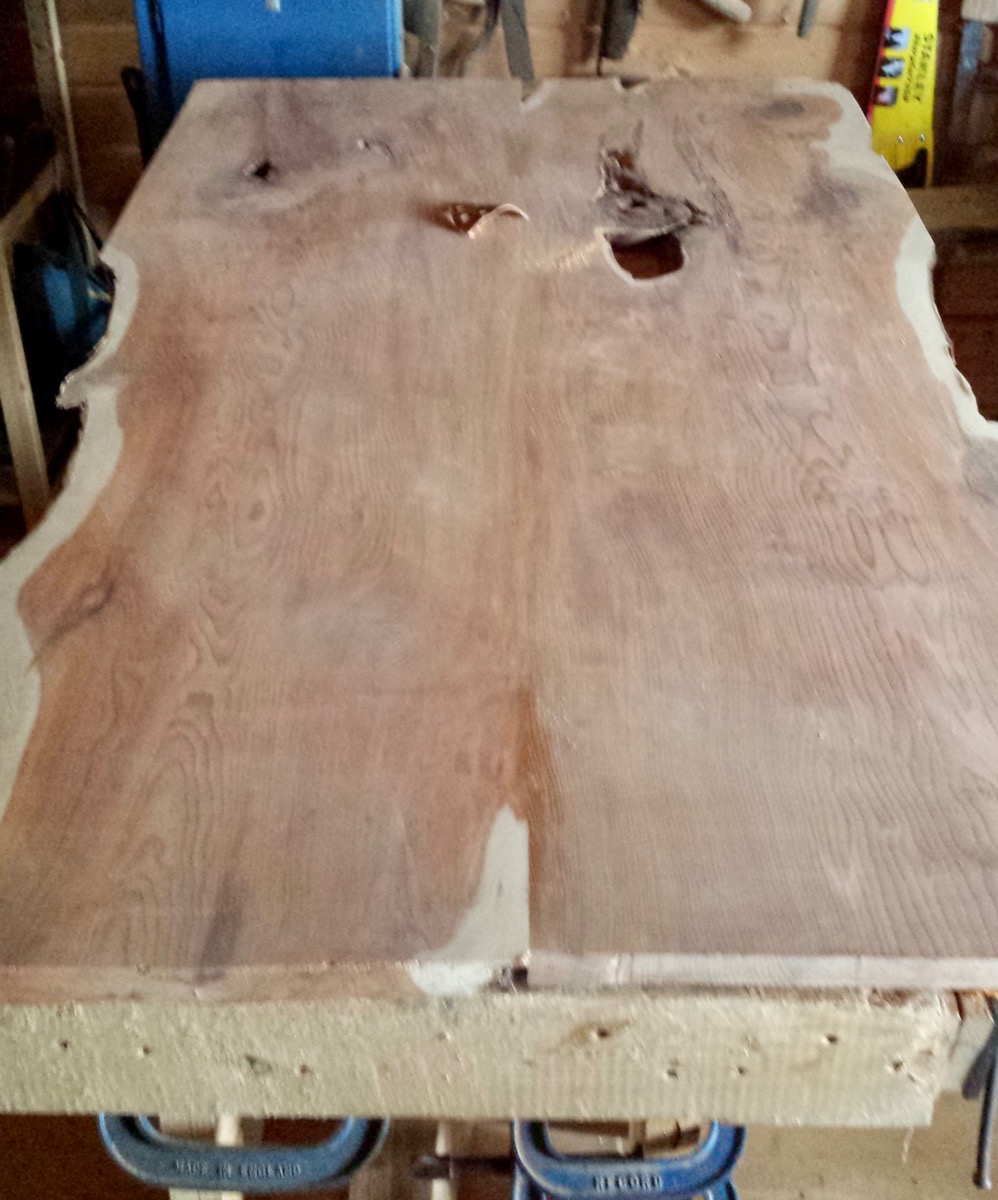
I put the undercarriage to one side and started to work the boards for the tabletop. These were just over an inch thick, very rough cut, and irregular. I spent some time looking at different combinations for grain pattern and colour, not to mention as few flaws as possible. The selected boards were cut to slightly over length and I began to prepare the surface; there were very deep bandsaw marks and lots of knocks and gouges that needed to be worked out. Had I a better equipped workshop a few runs through an electric surface planer would have seen me ready for glue-up in next to no time. However, I was doing this with hand tools, so I rolled up my sleeves and clamped the first board to the work bench.
Due to the nature of the grain, I worked with a spokeshave. This allowed me to work small areas and be aware of grain orientation that would have been difficult with a plane. It was slow and laborious, but worth it. When finished there were still some marks, but to get these out would have necessitated having to take more material from the board than desired, so they were left. In true Arts and Crafts philosophy there were a few minor tool marks. All in keeping with the undercarriage, creating a continuity between the elements of light and dark that were taking shape.
The board edges to be joined were planed perfectly level and square, before offering up to check for trueness and to find a good grain alignment. Once satisfied, I marked points for pegs; I do not have a biscuit jointer, so resorted to a method I have used before. The pegs while not necessarily adding any extra strength to the join would facilitate alignment when gluing and clamping.
Having bored the holes for the pegs, I dampened the edges to be glued, applied glue, inserted the pegs, aligned the boards and set the sash-clamps in place. They were left for 24 hours to dry, and when removed the join was seamless – it was only noticeable by looking closely at the grain of the boards. I was very happy indeed.
Greenwood Maple and Yew Dining Table
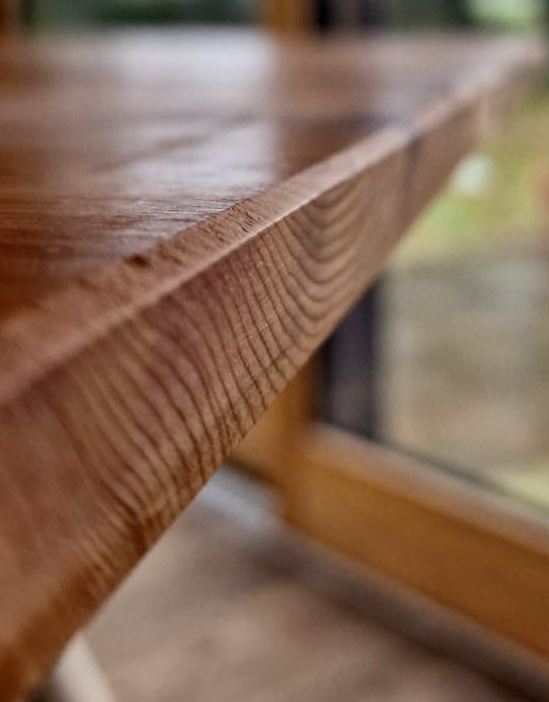
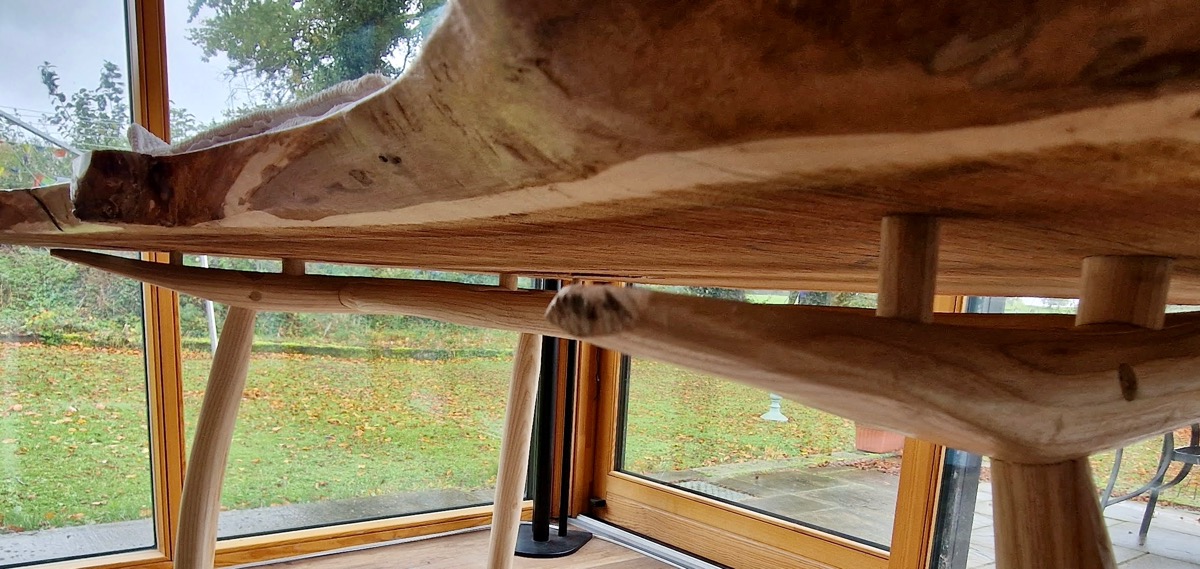
The tabletop was made using live edge boards, with the live edge down. This gave a softness to the underside of the table, while maximising the useable surface area above. However, in places, the edges had been sawn and the live edge removed. To soften these edges and give the illusion that the top was thinner than it was I cut a deep bevel on the underside that removed half the visible edge.
Greenwood Maple and Yew Dining Table
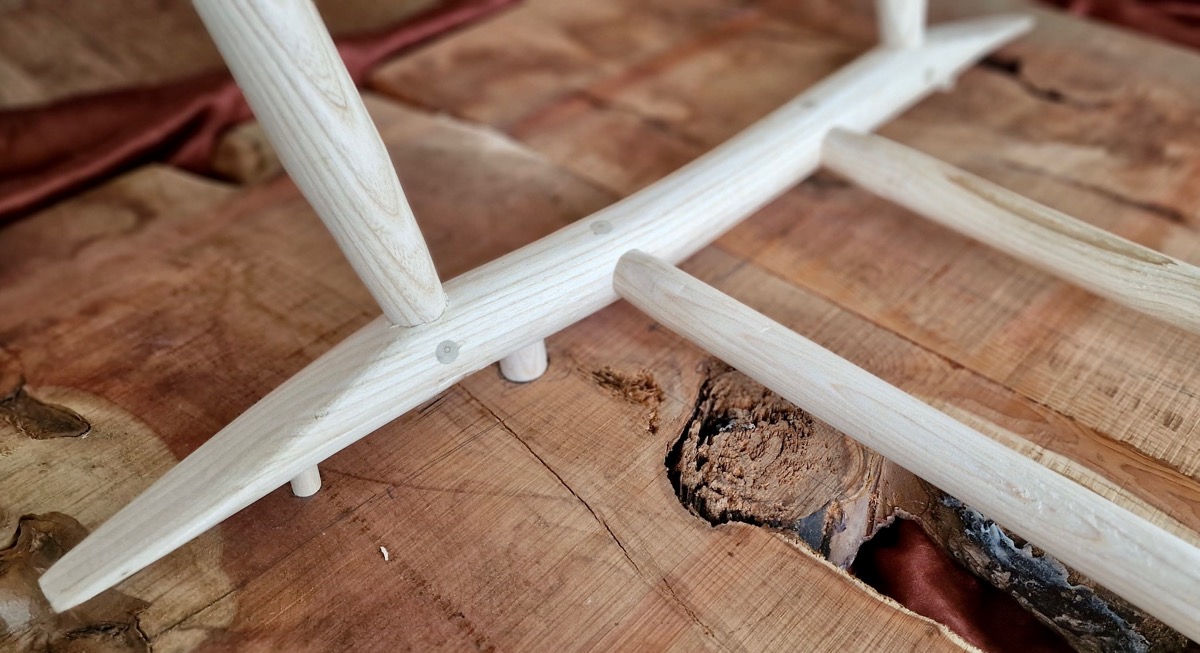
When I was given the basic brief for this table, I Immediately knew the aesthetic I would like to achieve. I have long been an admirer of Natsuki Ishitani and his sublime creations. I admire his incredible skill, and the perfect execution displayed in his work; but, most of all I adore his aesthetic. I wanted to try to apply elements of that aesthetic to this piece. I thought of his magnificent ‘Floating Table’. From the start this is what I was aiming for, what I wanted to create – a ‘floating’ table in greenwood.
So, I did some measuring and some boring of mortices that would hold the ‘spacers’ enabling the tabletop to float. I then cut maple spacers, fitted them to the undercarriage, and carefully marked levels before trimming. Next, I measured and marked locations on the underside of the tabletop, then did some very careful boring of mortices. The undercarriage was offered up to the upturned tabletop, and with a few taps the spacers secured in their locations.
Greenwood Maple and Yew Dining Table
Greenwood Maple and Yew Dining Table
At this point I thought I had completed the work on the table apart from final finishing. But when I turned it over, I realised I had a little more to do; the sharp, perfect, edges on the tabletop were a little jarring to my eye. I had been pondering what I was going to do with then as I worked on the piece – leave, round, or…..
……….I picked up the spokeshave and cut a very small bevel on all the sharp edges.
Greenwood Maple and Yew Dining Table
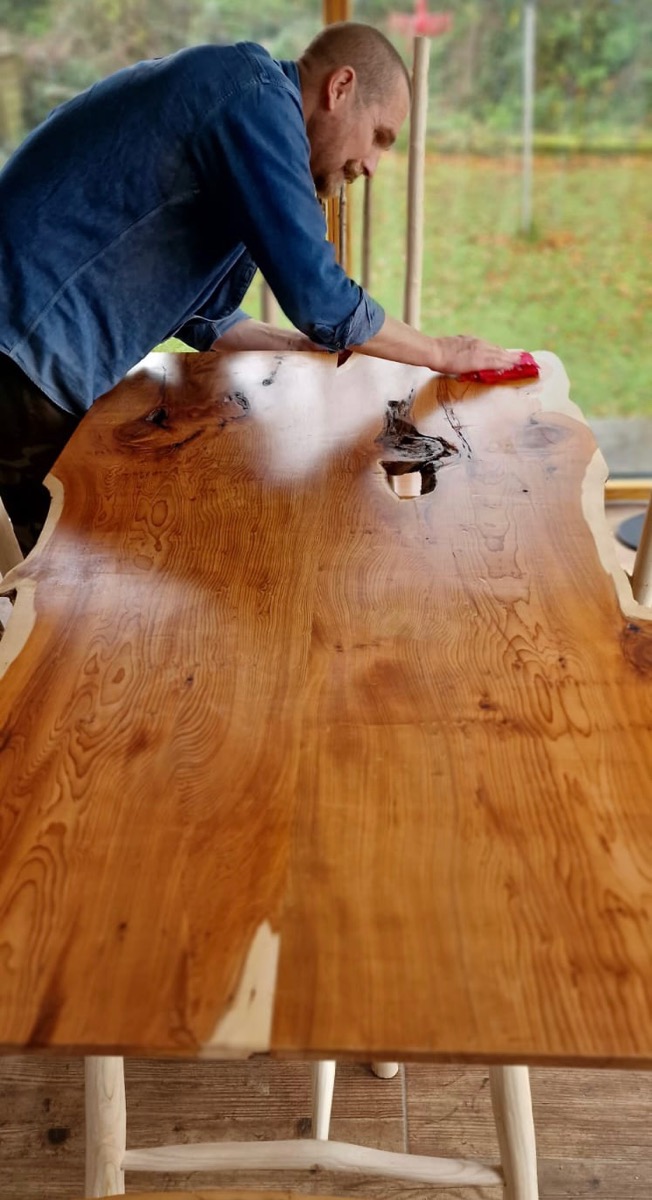
After sanding, waxing and polishing I looked at it in day light. I noticed dead spots in the polished surface! Daylight shows up all the flaws and issues.
Greenwood Maple and Yew Dining Table
Greenwood Maple and Yew Dining Table
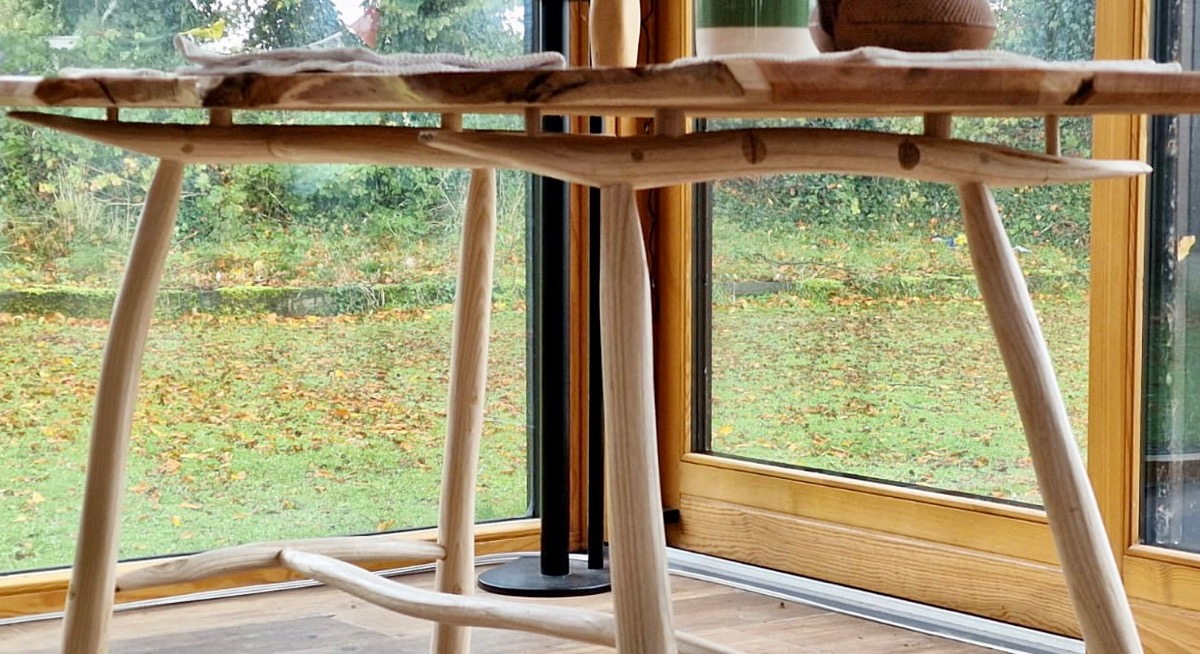
The height, the slim tapering curve of the legs, the natural flow of the stretchers and runners, combined with the beautiful wide grained luminosity of the maple create an open, light, elegant and supple appearance.
Greenwood Maple and Yew Dining Table
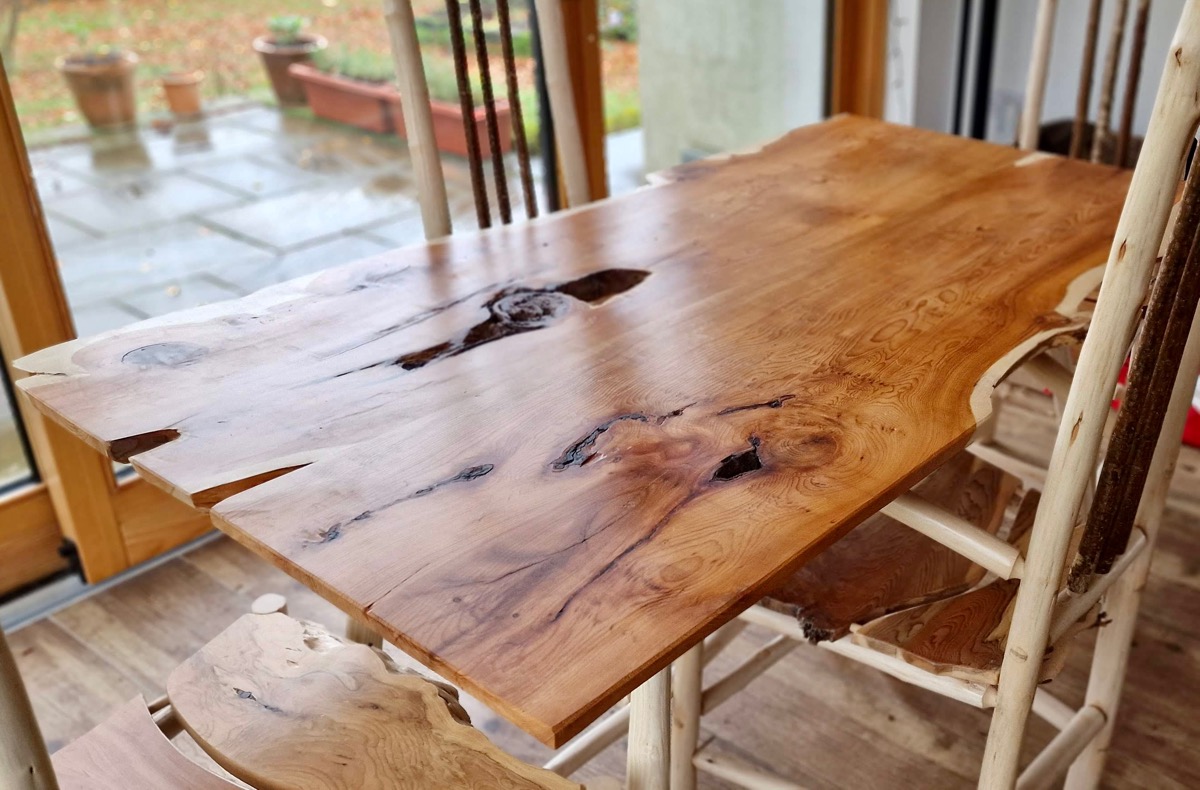
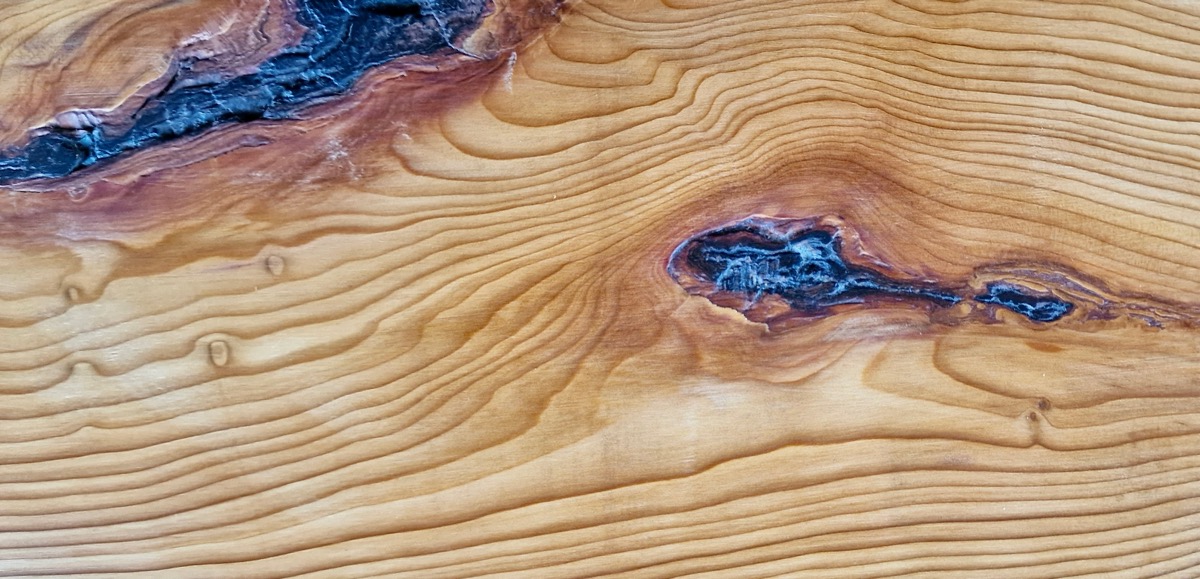
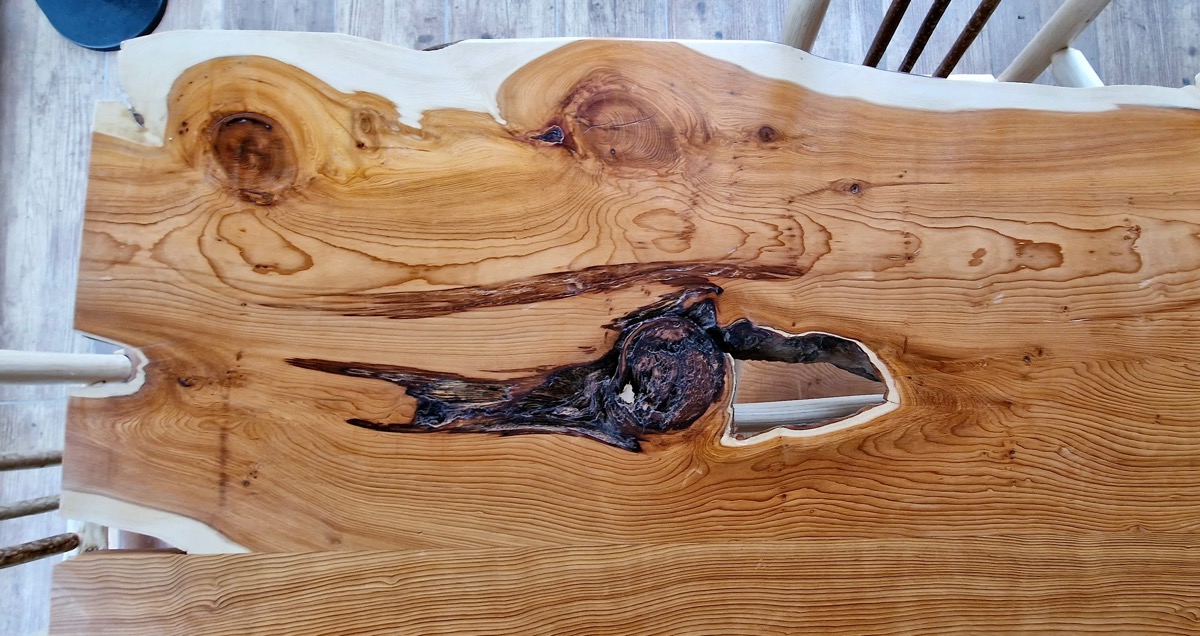
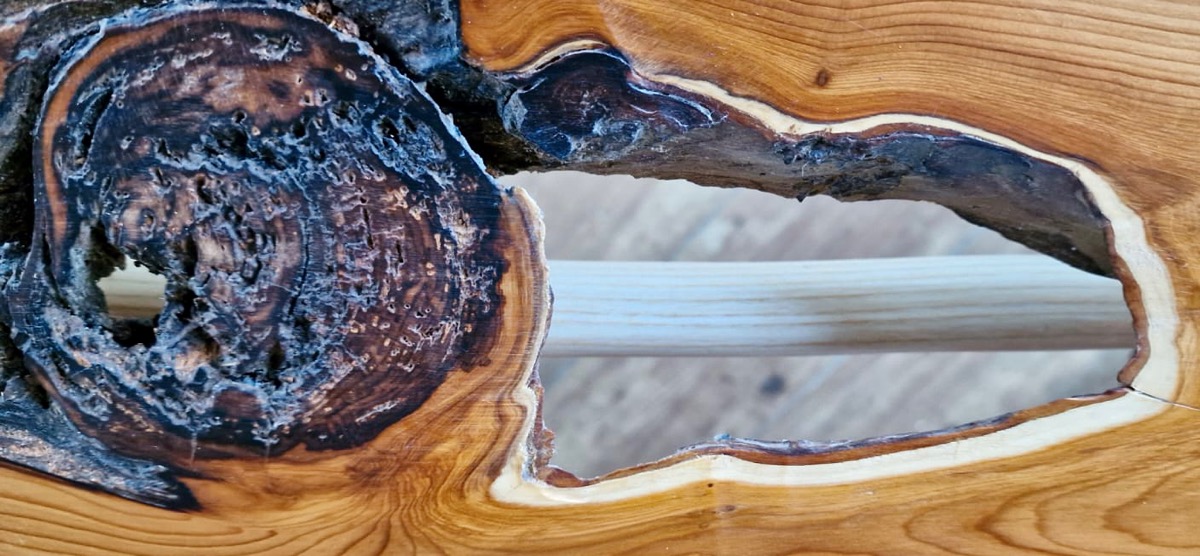
Floating above is a tabletop, combining formality and informality of shape and edge, rich and dark in hue – while immensely strong, it appears slim and delicate, containing magical grain that will absorb the eye and mind when conversation and laughter cease.
Greenwood Maple and Yew Dining Table
Greenwood Maple and Yew Dining Table
Greenwood Maple and Yew Dining Table
Greenwood Maple and Yew Dining Table
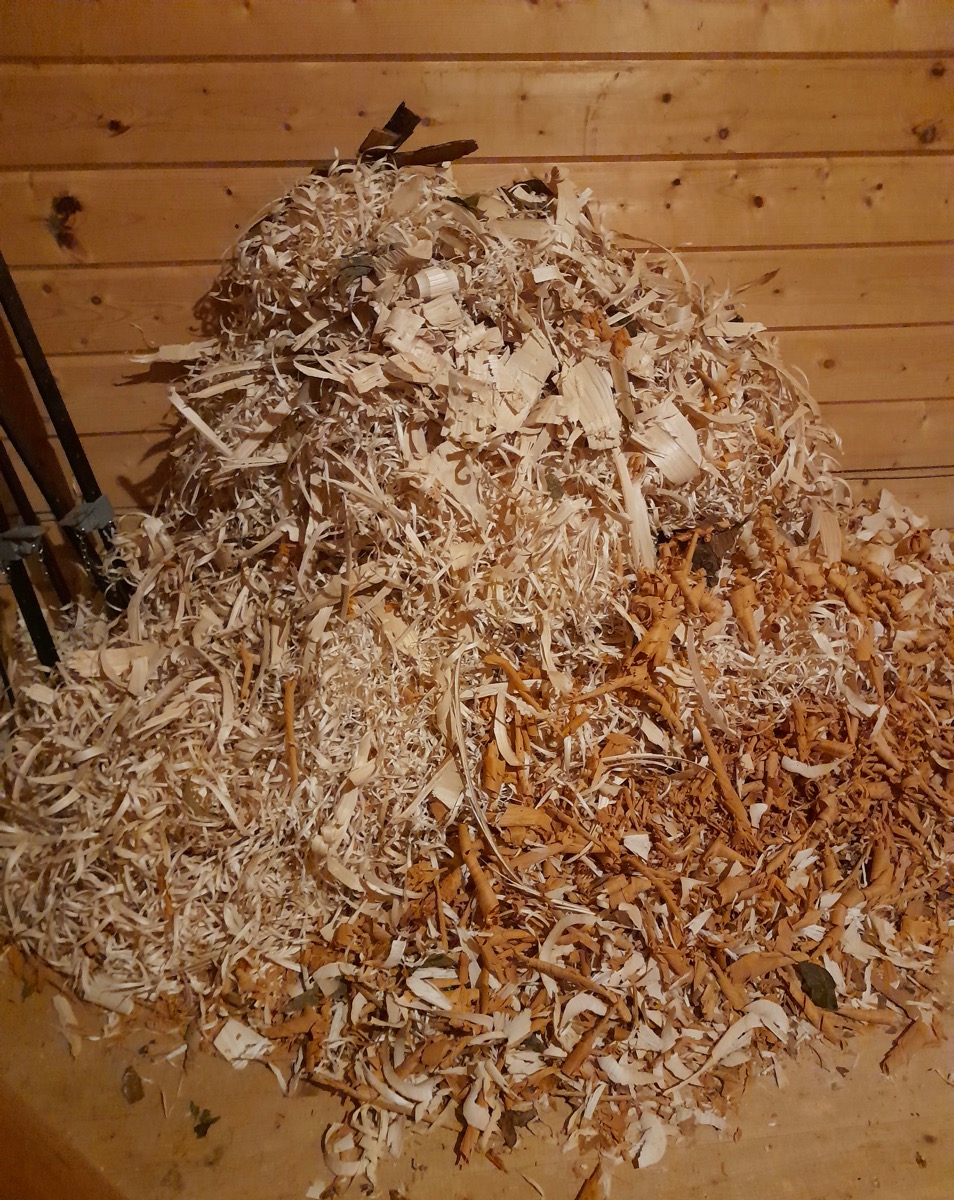
In the workshop there is a massive pile of shavings – I’ll use these for the fire in the coming winter. Nothing goes to waste!
Greenwood Maple and Yew Dining Table
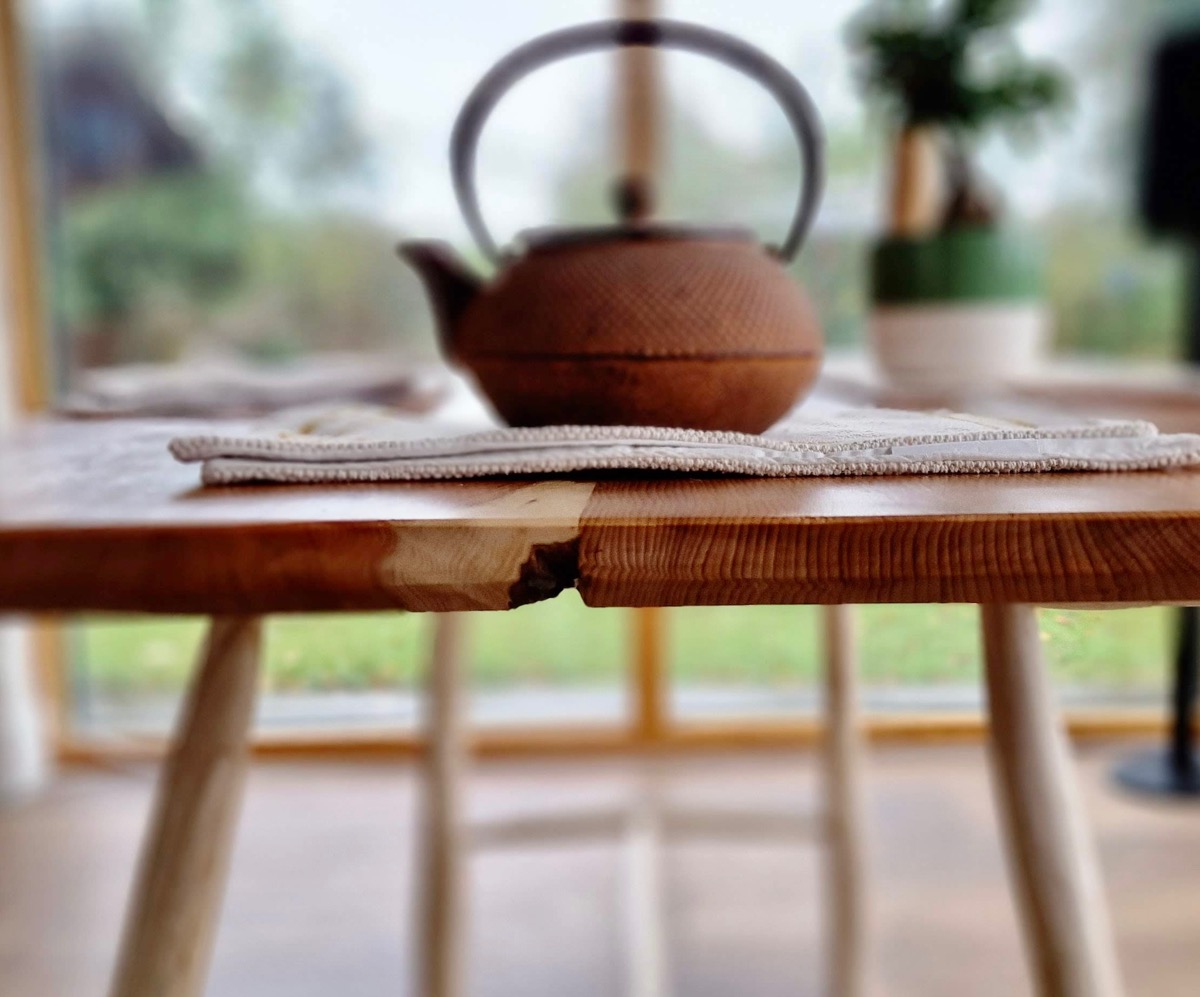
Those are the facts – now it’s time for a cup of Tea.
Greenwood Maple and Yew Dining Table
I think, and hope, I have fulfilled the original brief.

